Beer Can Chicken Recipe
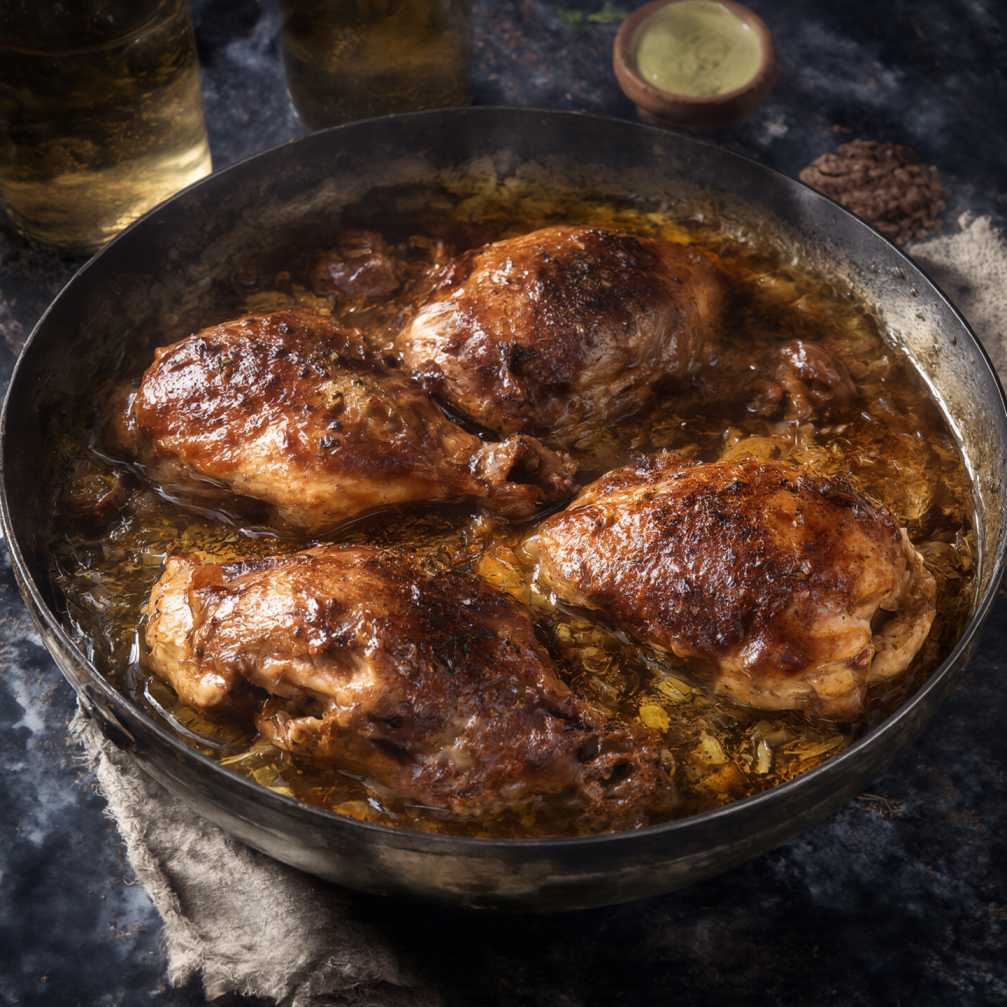
Beer Can Chicken transforms an ordinary roast into a showstopping centerpiece. The steam from the beer infuses the meat with moisture, while the spice rub creates a crispy, flavorful skin that balances smokiness with a subtle kick of heat.
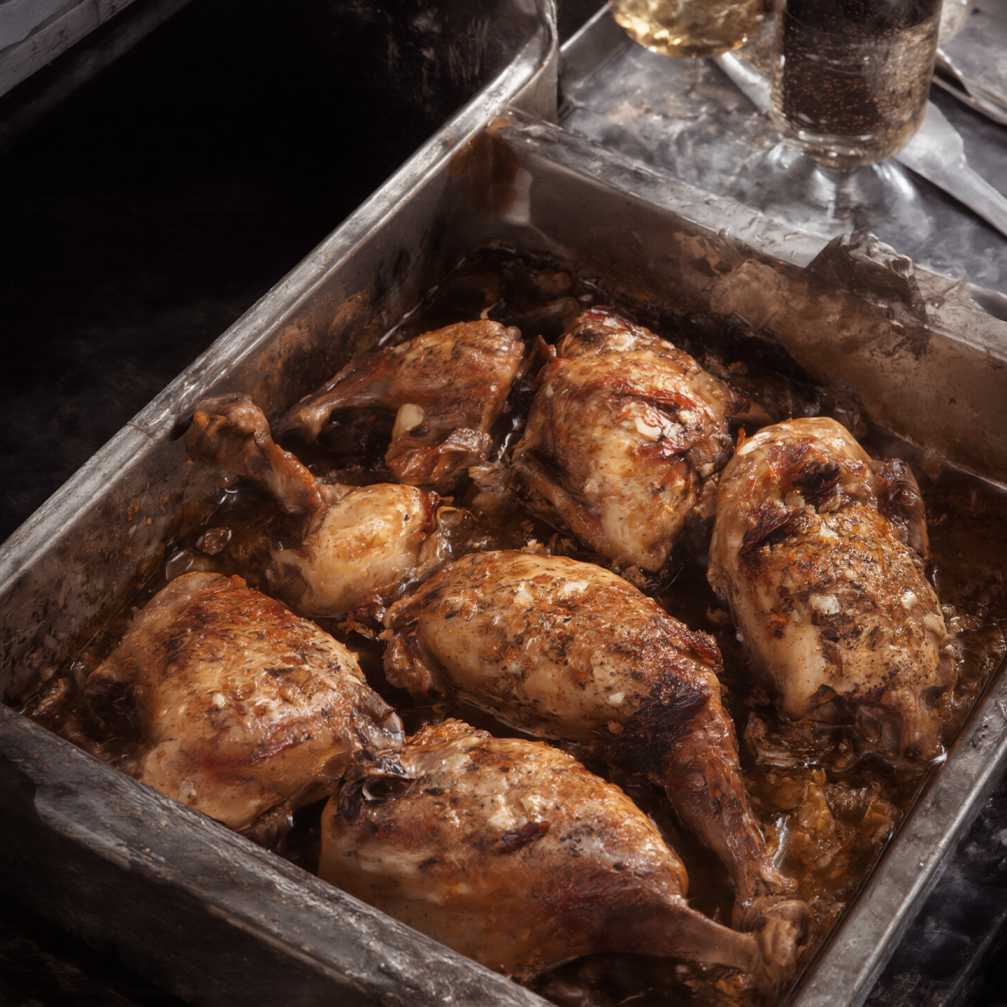
Perfect for summer cookouts or cozy dinners, this recipe combines simplicity with flair. Whether prepared on the grill or in the oven, it guarantees juicy meat and golden-brown perfection every time, making it a crowd-pleaser for family and guests alike.
Beyond its playful presentation, Beer Can Chicken offers versatility and rich flavor. The aromatic spices complement the tender poultry, while the beer ensures every bite is succulent. Serve it with roasted vegetables, potatoes, or fresh salads for a complete meal.
Beer Can Chicken Ingredients
Whole Chicken – The star of the dish, offering tender, juicy meat that soaks up the smoky, aromatic flavors from both the grill and the seasoning.
Beer – A playful yet essential element, infusing the chicken with steam that keeps it moist while adding subtle malty notes.
Garlic Powder – Enhances depth and warmth, ensuring each bite is savory and aromatic.
Smoked Paprika – Provides a rich smokiness and vibrant color, elevating the chicken’s rustic appeal.
Cayenne Pepper – Adds a gentle heat that balances the savory rub with just the right kick.
Oregano – Brings a touch of earthy, herbal freshness to the spice blend.
Black Pepper – A classic seasoning that sharpens flavors, tying the rub together with a peppery finish.
Recipe Tips
1. Master the Dry Rub
The rub is the foundation of Beer Can Chicken’s flavor. Don’t just sprinkle it on top—make sure to coat the bird generously, including under the skin where possible. This ensures the seasoning penetrates deeper, creating layers of taste that balance smokiness, spice, and savoriness. If time allows, rub the chicken in advance and refrigerate it for a few hours or overnight. This simple step allows the spices to meld into the meat, producing an even more flavorful result.
2. Ensure Stability on the Can
Placing the chicken upright can feel a little tricky at first, but stability is key to even cooking. Make sure the beer can is placed on a flat surface inside the grill or oven, and adjust the chicken so its legs form a tripod with the can. This prevents wobbling during cooking and helps the bird roast uniformly. A sturdy base not only guarantees safety but also promotes better browning all around.
3. Let It Rest Before Serving
It’s tempting to slice right into the bird, but letting it rest for at least 10 minutes is essential. Resting allows the juices to redistribute throughout the meat, keeping it moist and tender. Cutting too soon can cause those precious juices to spill out, leaving the chicken dry. Use this time to prepare side dishes or sauces so everything is ready to serve together.
What to Serve with Beer Can Chicken
Beer Can Chicken shines when paired with sides that complement its smoky, savory flavors. Grilled vegetables such as zucchini, bell peppers, or corn on the cob add vibrant color and a charred sweetness that balances the bold spices of the chicken.
A hearty starch makes a perfect companion, whether it’s creamy mashed potatoes, roasted baby potatoes, or a fresh pasta salad. These options soak up the flavorful juices while rounding out the meal with comforting textures.
For something lighter, consider a crisp green salad with a tangy vinaigrette. The freshness and acidity cut through the richness of the chicken, providing a refreshing contrast and ensuring the meal feels balanced from start to finish.
FAQ
1. Can I make Beer Can Chicken without beer?
Yes, you can substitute soda, apple cider, or even chicken broth in the can. The key is the steam, which keeps the chicken moist and tender.
2. How do I know when the chicken is done?
Use a meat thermometer to check the thickest part of the thigh or breast. The internal temperature should reach 165°F for safe consumption.
3. What type of beer works best?
Light lagers or ales are popular choices, as they provide moisture without overpowering the chicken’s natural flavors. However, experimenting with darker beers can add deeper, malty notes.
4. Can I make this recipe in the oven instead of a grill?
Absolutely. The oven method works just as well—just use a foil-lined baking sheet to catch drippings and follow the same cooking temperature and time.
Beer Can Chicken
Ingredients
Method
- Prepare the grill or oven. For grilling, line the base with aluminum foil and pour in a small amount of water to minimize flare-ups and retain moisture. For oven cooking, position a large foil-lined tray on the lowest rack with a splash of water.
- Preheat to 425–450°F. If using a grill, activate only part of the burners—two out of three or three out of four, depending on the model—to establish indirect heat.
- In a small bowl, combine all the dry rub ingredients until well blended.
- Lightly coat the chicken with oil or cooking spray. Rub the seasoning mixture generously over the skin and, where possible, underneath it for deeper flavor penetration.
- Open the beer can and discard half of its contents. Carefully lower the chicken over the can so it stands upright, with its legs forming a stable base. Ensure balance before transferring to the cooking area.
- Position the chicken on the grill over indirect heat or in the oven. Cover and cook for 60–90 minutes, or until the thickest part of the meat registers 165°F on a thermometer.
- Check periodically, rotating the chicken every 15–20 minutes if browning occurs unevenly.
- Once fully cooked, remove the chicken with care. Allow it to rest on a cutting board for at least five minutes before handling. With caution, lift the bird from the can, as both will be extremely hot.
- Carve the chicken into portions and serve promptly while warm.